Introduction
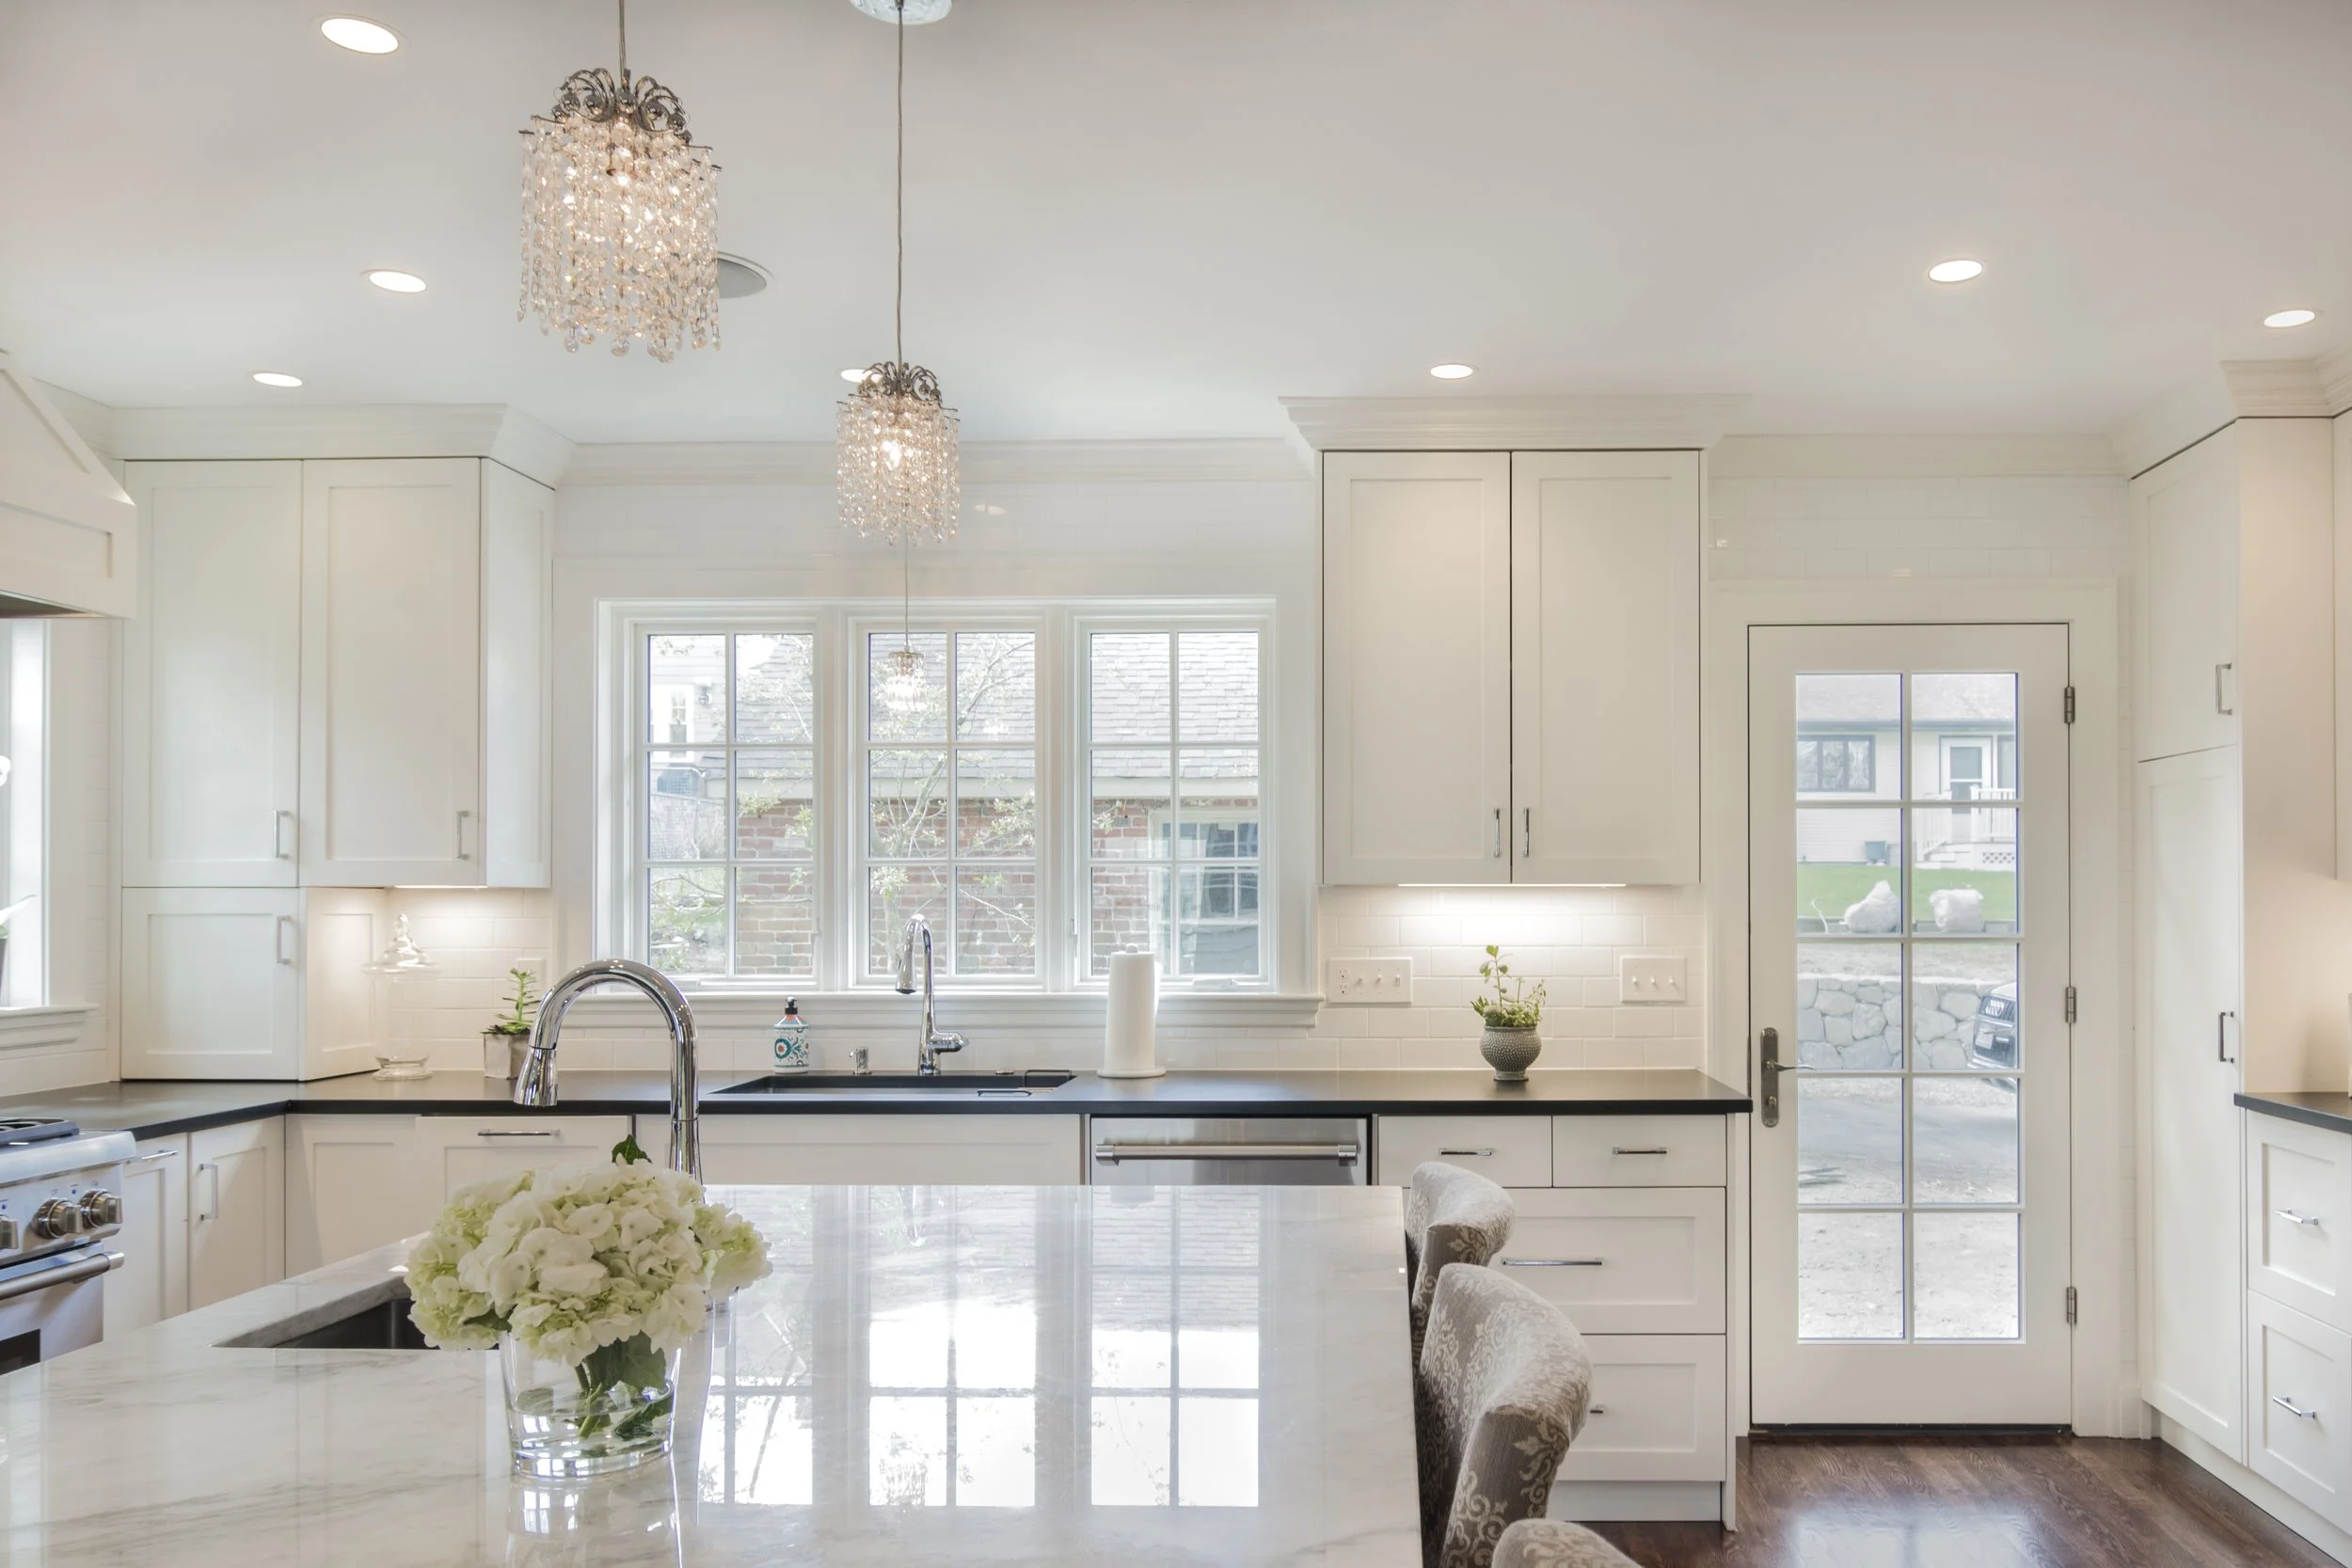
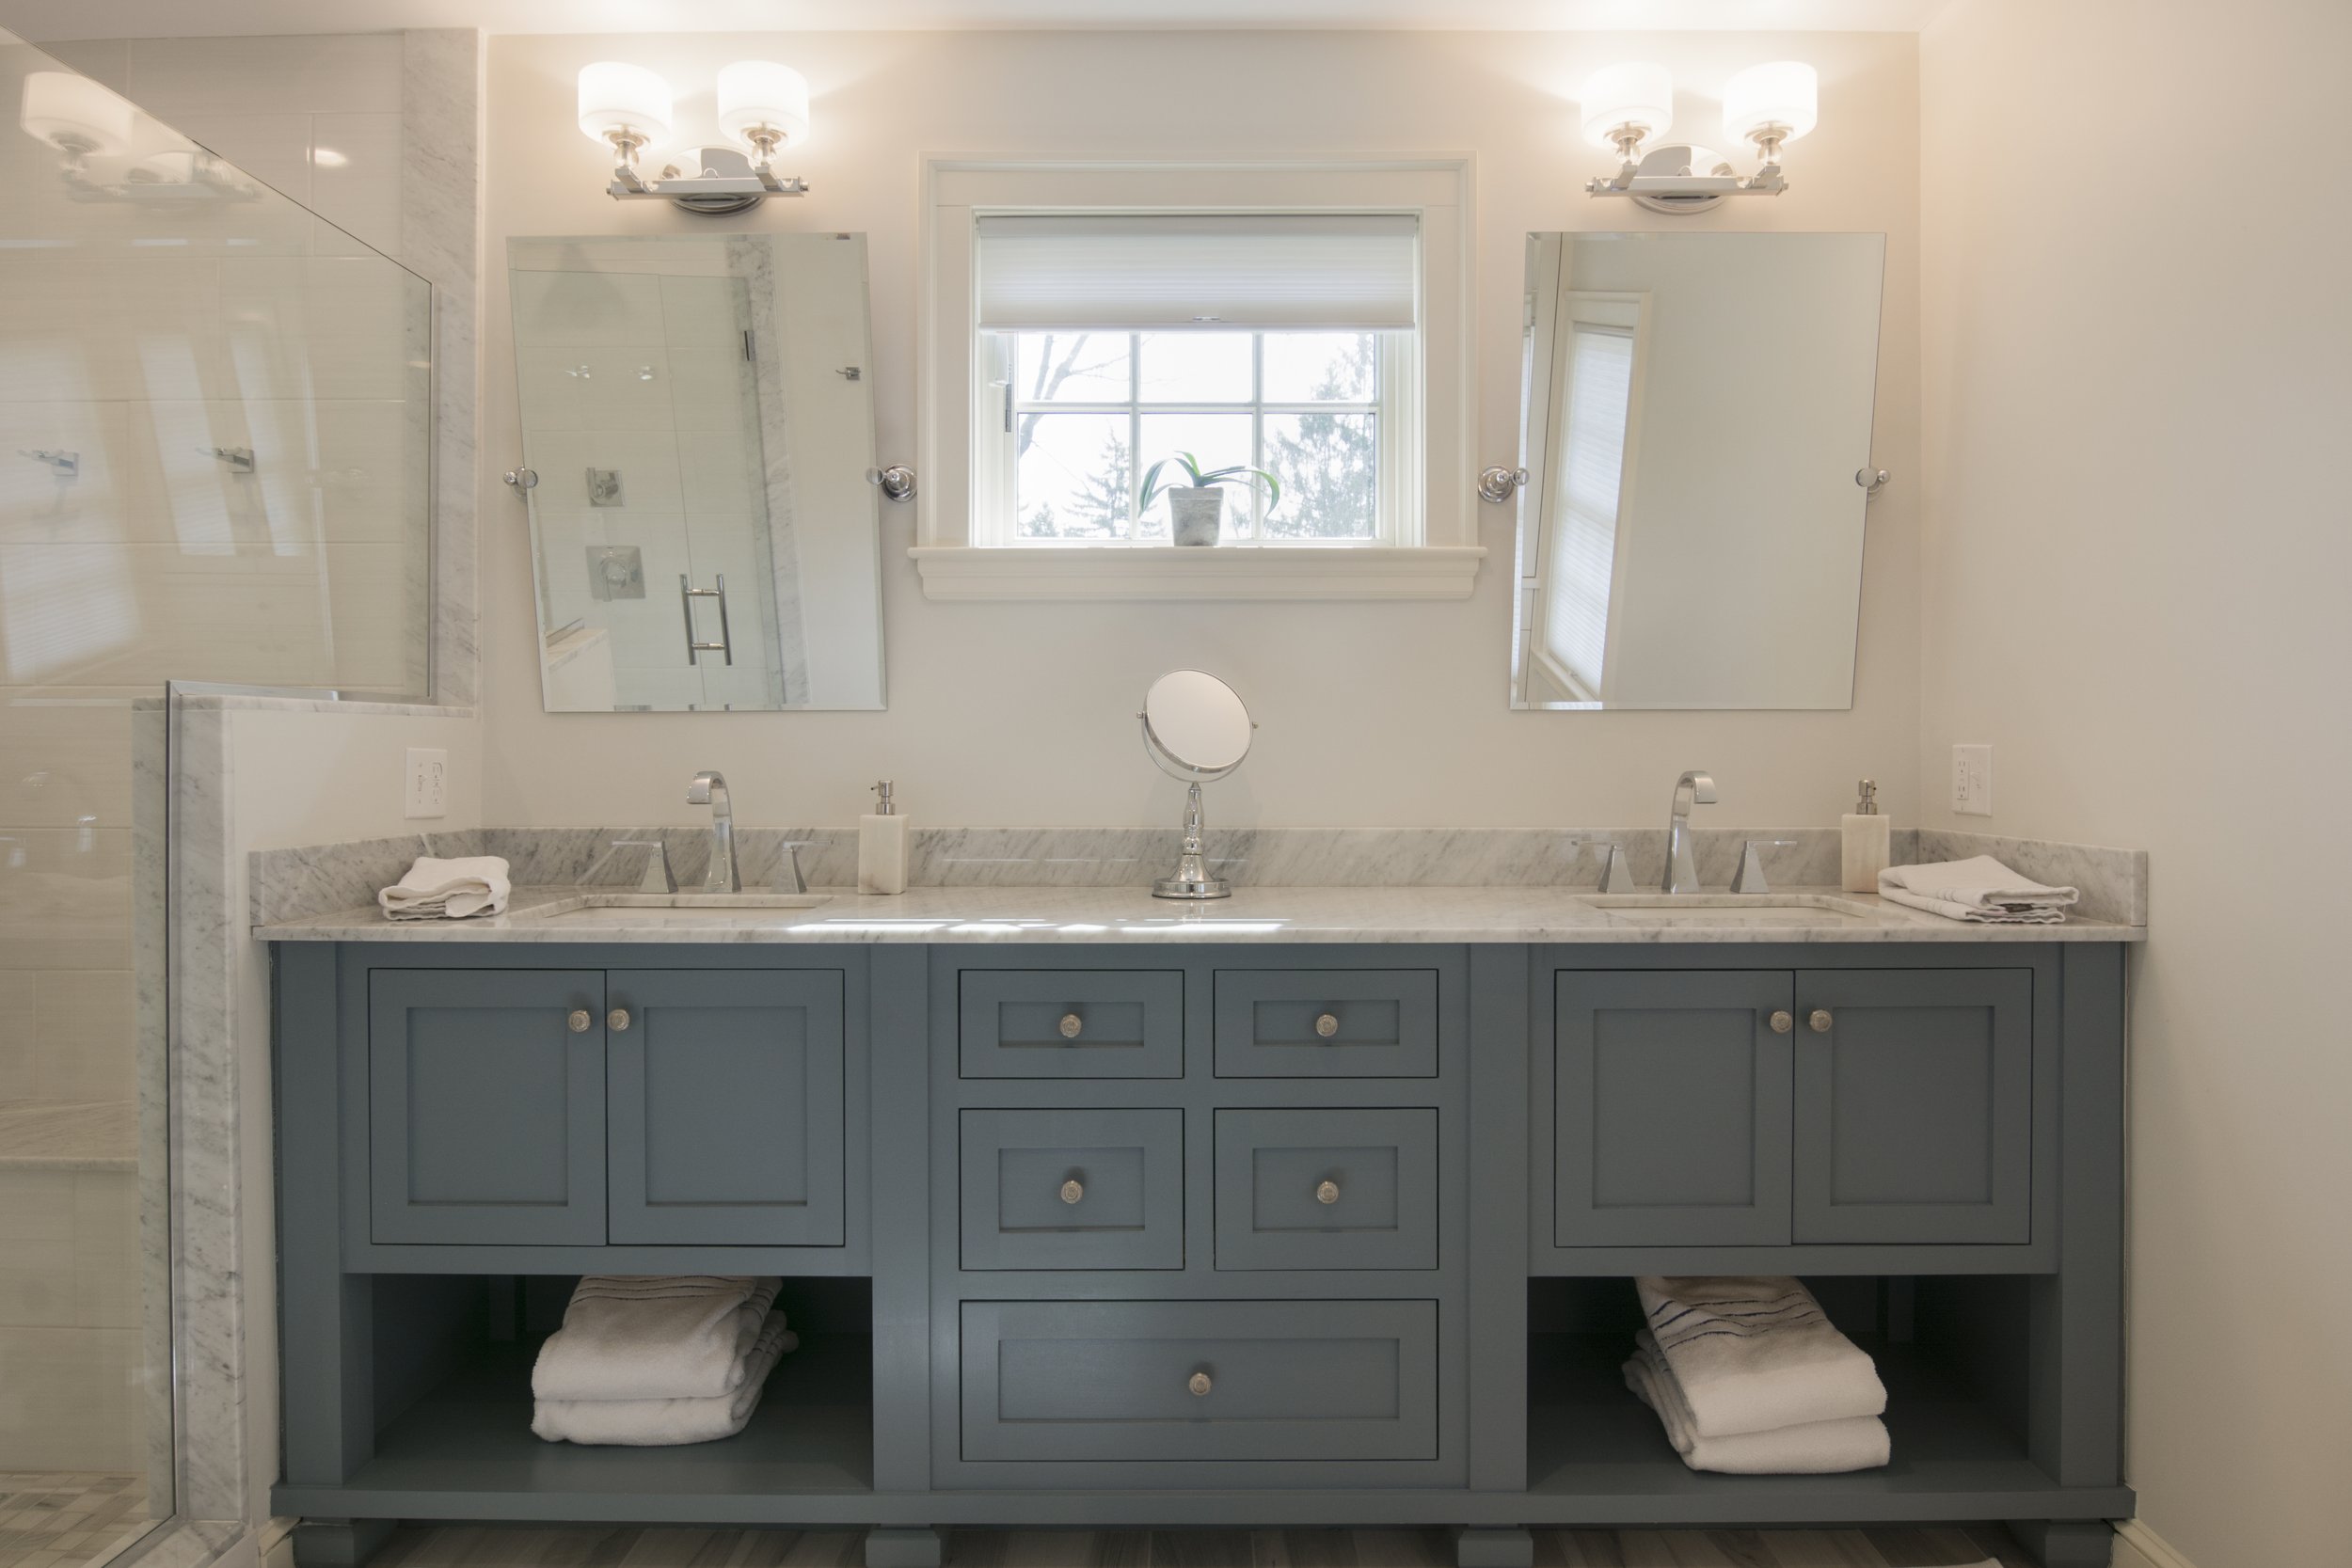
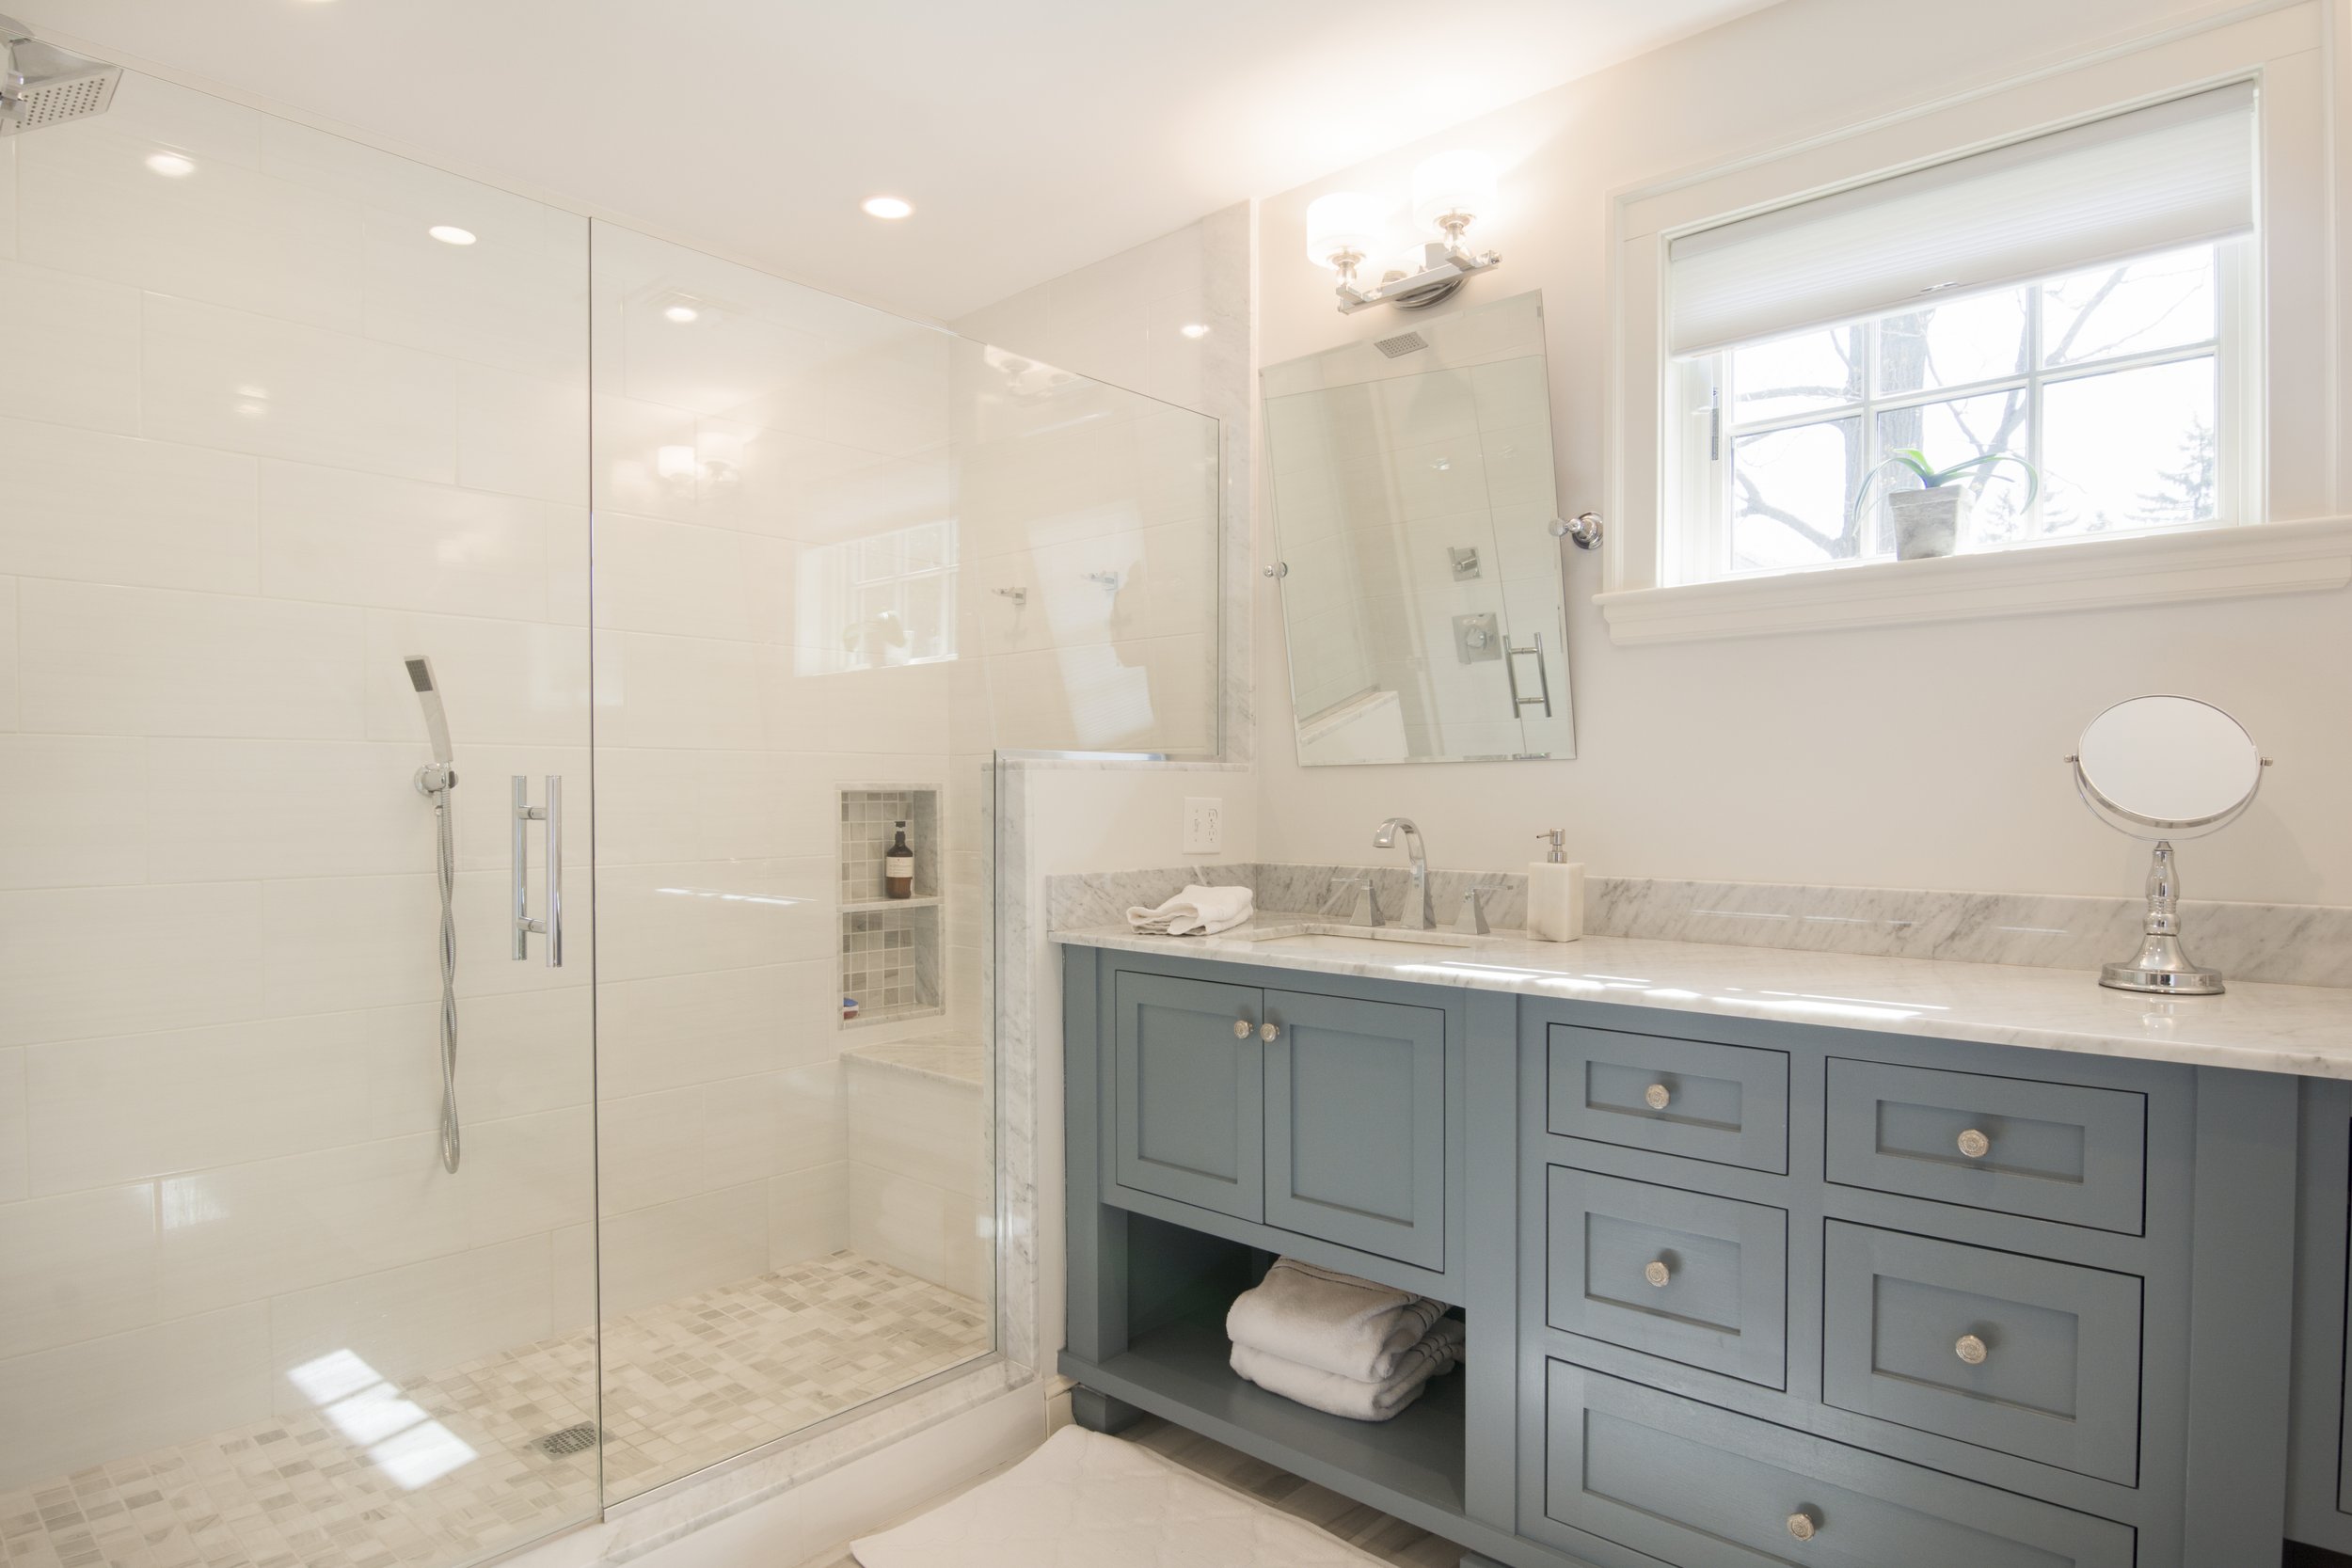
Residential
Commercial-Multifamily
Instagram
Process
Awards
Office Culture
Contact-Inquiries
Menu
Introduction
Residential
Commercial-Multifamily
Instagram
Process
Awards
Office Culture
Contact-Inquiries
***
Other Credits
Photography:
Jen Langis Photography